Emergency Roof Damage Claims: Storm Documentation Window
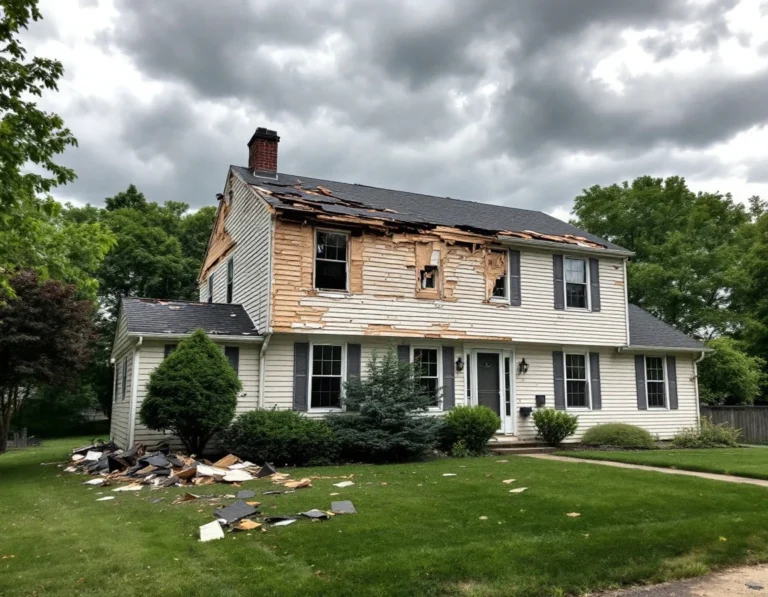
The hours immediately following a storm event determine how much insurance coverage homeowners recover. Filing emergency roof damage claims within 48 hours receives closer adjuster attention and detailed property evaluations, while delayed claims face scrutiny about whether damage occurred during the reported storm or from prior maintenance issues.
48-hour claim filing deadline maximizes insurance
Insurance carriers use 48-hour filing windows as a key metric when evaluating emergency roof damage claims. Homeowners who submit initial claim notifications within two days of a weather event position themselves for higher payout recovery because adjusters view prompt reporting as evidence of legitimate, timely damage rather than pre-existing conditions discovered weeks later.
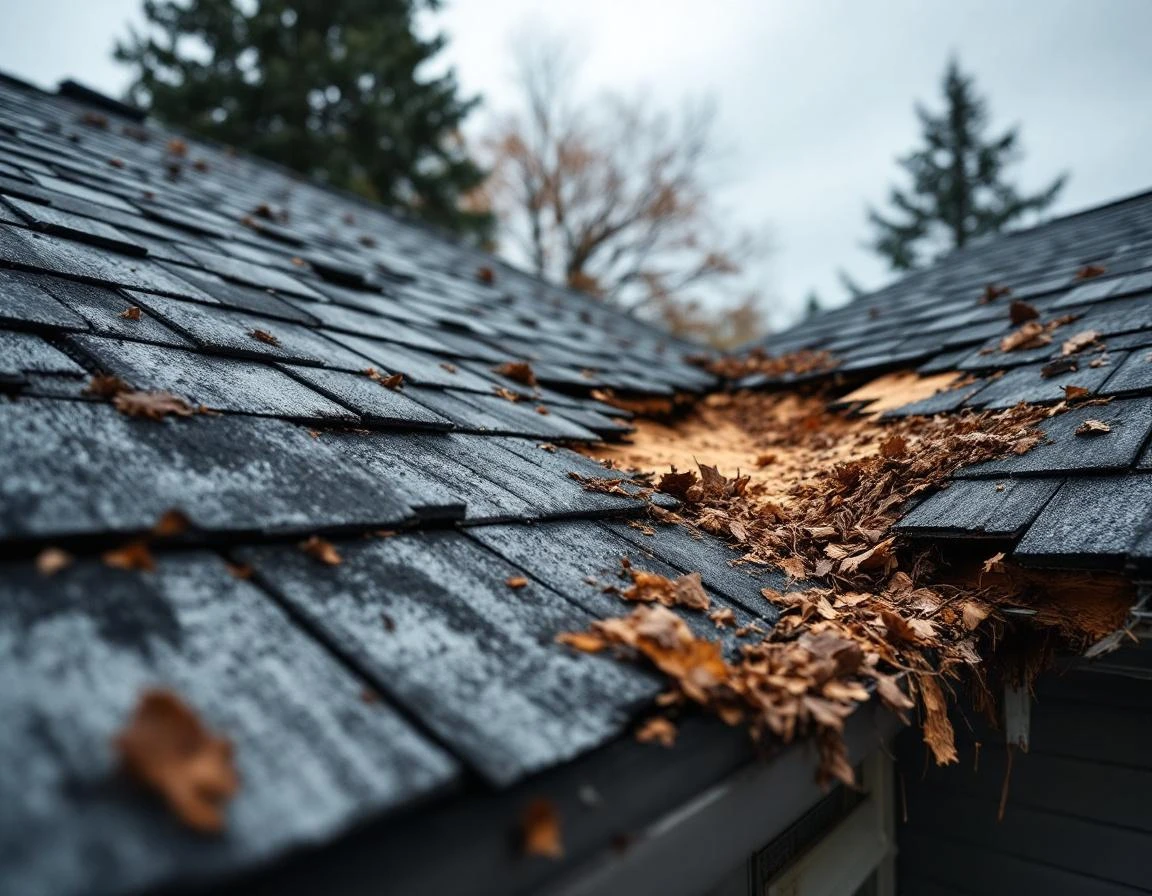
Documentation requirements are non-negotiable. Take complete photographs of damaged shingles, dented flashing, compromised underlayment, and interior water intrusion before any temporary repairs. Capture wide shots showing the full roof plane and close-ups detailing specific damage points. Include time-stamped images if your camera supports it.
Professional damage assessments strengthen your claim file. Contractors who provide detailed written reports documenting material failure, installation integrity, and repair scope give adjusters the technical evidence they need to approve full replacement coverage rather than partial repair reimbursements.
Delayed reporting triggers claim denial
Insurance carriers impose strict timelines for storm damage reporting, and contractors who explain these deadlines help homeowners avoid costly mistakes. Most policies require notification within a specific window after discovering damage—often 72 hours—and missing this deadline gives insurers grounds to reduce payouts or deny claims entirely. The carrier argues that delayed reporting prevented them from assessing whether the damage occurred during the covered storm event or resulted from neglect.
Contractors who respond immediately during peak storm season position themselves as trusted advisors rather than vendors chasing work. When your team publishes real-time damage assessment guides the moment severe weather hits your service area, homeowners see you as the first-responder in their decision process. This rapid response builds trust that competitors scrambling to knock on doors three days later cannot replicate.
Step-by-Step Claim Filing Process for Roof Damage After Storm
The insurance claim process begins the moment storm damage occurs. Contact your insurance carrier within 24 to 48 hours of the storm event to file your initial report.
Provide the claims representative with basic information about when the storm occurred, what you observed during the event, and what damage you’ve identified so far. Request a claim number and ask when the adjuster will contact you to schedule an inspection.
Before the adjuster arrives, compile your documentation package. Insurers require photographic evidence from multiple angles showing each damaged area, close-up shots of specific issues like missing shingles or cracked flashing, and wide shots that establish the overall roof condition. Include date stamps on all photos to establish a clear timeline. Prepare a written damage description that notes what you observed immediately after the storm versus what you discovered during your detailed inspection. If you’ve obtained contractor repair estimates, have those ready as well.
What to Expect During the Adjuster Inspection
The insurance adjuster will schedule an on-site visit typically within three to seven days of your initial claim filing. They’ll conduct a roof inspection, photograph damage from the same angles you documented, and measure affected areas. Walk the adjuster through your findings and present your documentation package. Point out specific damage locations and explain the timeline of discovery. The adjuster will compare your evidence against their inspection findings to determine coverage scope.
Following this documented assessment process reduces claim denial risk by establishing clear causation between the storm event and the damage. Insurers approve claims when the evidence trail is complete and the timeline is clear. Homeowners who present organized documentation during the adjuster inspection create a record that supports complete coverage rather than partial repairs. The difference between a denied supplemental claim and full approval often comes down to whether you documented every damaged component during that first inspection.
Damage Assessment Checklist
Before the adjuster arrives, walk your property with a systematic documentation approach that captures both surface-level and structural indicators. Start at ground level by photographing missing or damaged shingles from multiple angles, capturing close-ups that show torn edges, exposed underlayment, or broken tabs. Move to downspouts and gutters, where granule accumulation signals weathered shingles losing protective coating—photograph these deposits with a reference object like a coin for scale.
Insurers evaluate hail damage by examining circular impact marks on metal vents, flashing, and shingle surfaces. Photograph each impact site with two shots: one wide-angle showing location context, and one close-up with a quarter placed beside the mark to demonstrate diameter. Document water stains on interior ceilings and walls. Photographing the full extent of discoloration plus any bubbling paint or sagging drywall that indicates active leakage behind finished surfaces.
When Professional Assessment Becomes Essential
Homeowner documentation captures visible exterior damage, but hidden structural issues require trained evaluation. Hire a licensed roofing contractor to inspect decking integrity, truss damage, and moisture penetration within attic spaces—areas inaccessible during standard homeowner walkthroughs. Professional assessments carry weight during adjuster negotiations because contractors identify code violations, calculate repair scope accurately, and provide written estimates that establish baseline replacement costs.
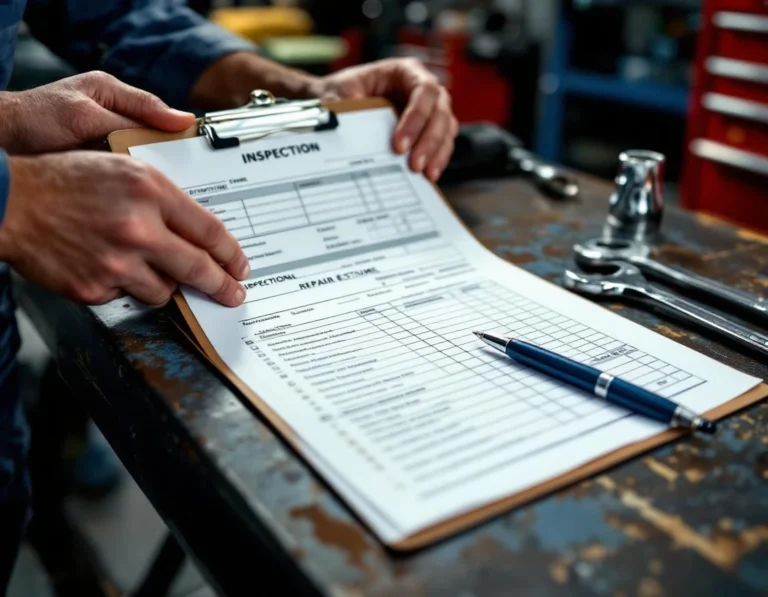
The assessment report should itemize each damaged component with corresponding repair costs, separating cosmetic fixes from structural requirements. This documentation prevents insurers from approving only surface repairs when underlying decking or support structures sustained impact damage. Contractors who provide detailed moisture meter readings, thermal imaging results, and structural engineering referrals when appropriate build claim files that withstand carrier scrutiny during the approval process. Schedule this professional evaluation within 24 hours of filing your claim, giving the contractor time to complete the report before the adjuster’s site visit.
Adjuster Inspection Preparation
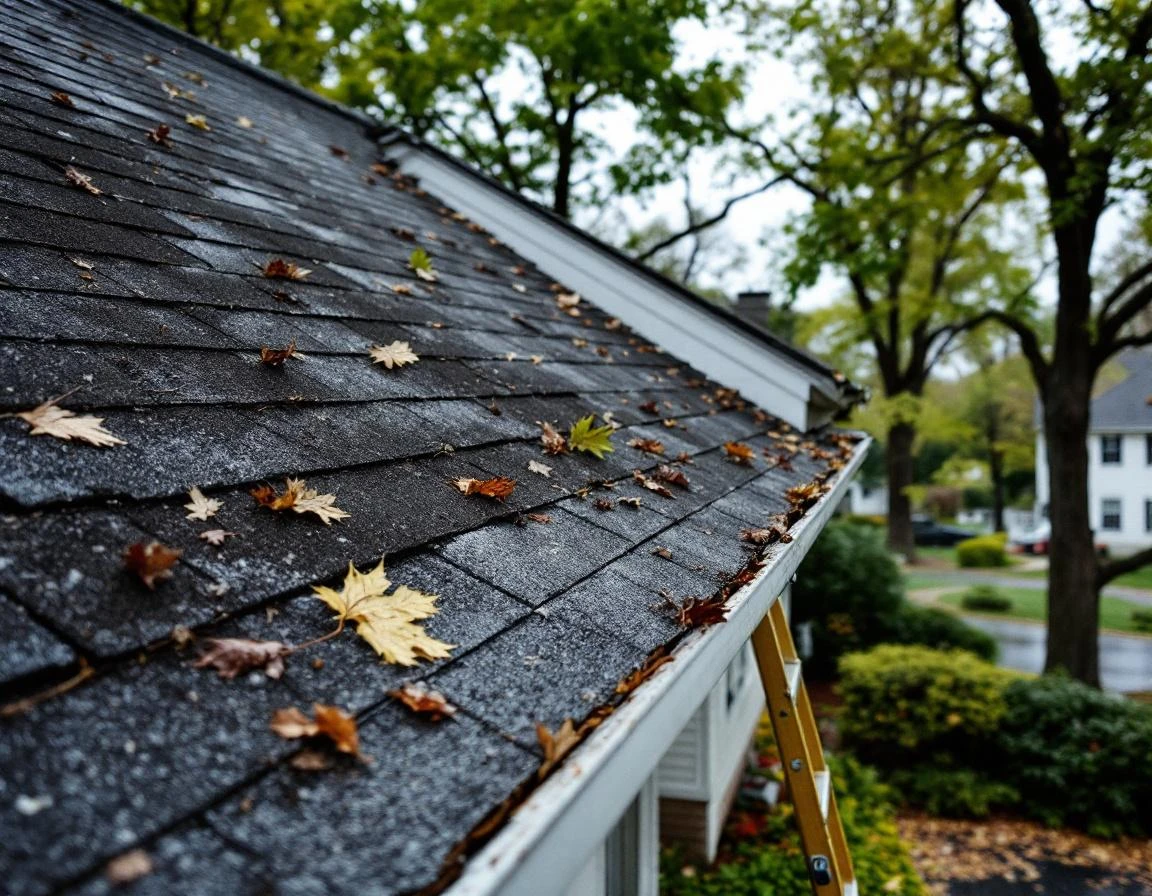
The adjuster’s on-site inspection focuses on verifying reported damage, determining repair scope, and assessing whether damage matches the timing and characteristics of the claimed storm event. Adjusters photograph roof surfaces, measure affected areas, check for pre-existing wear versus acute storm impact, and evaluate whether damage requires repair or full replacement. They’re trained to distinguish hail dents from foot traffic marks, wind uplift from installation defects, and recent leaks from long-term moisture infiltration.
Your role during the adjuster visit centers on presenting organized documentation without overstating damage severity. Have your timestamped photographs, the professional assessment report, and contractor repair estimates ready in a labeled folder or digital format. Walk the adjuster through your documentation chronologically, pointing out specific damage locations that match your photos. Answer questions directly and avoid speculating about repair costs or timelines—that’s the contractor’s domain. Professionalism and preparedness signal that you’re a credible claimant, not someone attempting to exploit coverage.
Contractor repair estimates strengthen your claim by providing independent third-party validation of damage scope and reasonable repair costs. Schedule inspections with two or three licensed contractors before the adjuster arrives. Request detailed written estimates that itemize materials, labor, and specific damage areas requiring attention. These estimates give the adjuster market-rate benchmarks and demonstrate that you’ve done the work to understand actual repair requirements. Adjusters often increase approved payouts when homeowners present credible contractor documentation rather than relying solely on the adjuster’s initial assessment.
If the initial payout determination feels inadequate, most carriers allow a formal appeals process within 30 to 60 days. Submit additional contractor estimates, supplemental damage photographs, or request a second adjuster inspection.
Early professional assessment documentation becomes particularly valuable during appeals, as it establishes a contemporaneous damage record that predates any dispute about coverage amounts.
Emergency Roofing Contractor Selection During Claim Process
The emergency roofing contractor near you that you choose during the claim process determines how effectively you present your case to the insurance carrier. Homeowners who partner with contractors experienced in claims documentation consistently receive better settlement outcomes than those working with companies unfamiliar with adjuster requirements. The difference lies in how quickly the contractor responds after storm events and how thoroughly they support your evidence gathering.
Start by identifying contractors who published storm preparation and damage assessment guides during the current severe weather season. Companies that posted real-time content during May and June storm events demonstrated their commitment to serving homeowners when it matters most. This advance preparation indicates they have systems in place for rapid response, not just emergency reaction protocols built after the storm passes.
Evaluate contractors based on their ability to provide professional damage assessments within the 48-hour filing window. Companies offering immediate inspection scheduling during peak season reduce your risk of missing critical deadlines. Request references from recent storm-response projects and verify the contractor provided detailed damage reports that supported successful claims, not just repair bids.
Ask potential contractors how they support the claim filing process beyond providing repair estimates. The most valuable partners supply the following:
- Photographic documentation that meets adjuster standards
- Written damage assessments explaining causal relationships between storm events and structural issues
- Itemized repair estimates broken down by coverage categories
This documentation strengthens your position during adjuster negotiations and reduces disputes over scope.
Contractors who maintain transparent pricing and detailed repair specifications reduce your out-of-pocket costs by eliminating coverage gaps the adjuster might exploit. Companies that published content during storm season position themselves as trusted advisors homeowners contact first, before competitors even activate their emergency response teams. This advance relationship-building creates response capacity other contractors cannot match when every homeowner in your neighborhood needs immediate attention.

Recovery Timeline and Next Steps
Once your insurance company approves your claim, understanding the payout and repair timeline helps you protect your home from secondary damage. Most insurers issue initial payments within 7-14 days of approval, with final settlement after repair completion and verification. The gap between approval and full payment creates a window where prompt contractor scheduling prevents water intrusion, structural deterioration, and compounding damage that extends beyond your approved coverage.
Schedule your contractor immediately after claim approval rather than waiting for the full payout. Delays of even a few weeks allow water to penetrate damaged areas. Causing rot, mold growth, and interior damage that falls outside your original claim scope. Reputable contractors coordinate their work schedules with insurance timelines and understand documentation requirements for final settlement verification.
Your contractor should provide detailed progress documentation that matches your insurer’s repair specifications. This includes before-and-after photographs of each repair phase, material receipts matching approved estimates, and completion certificates. Insurers require this verification before releasing final payment, and organized documentation accelerates the settlement process.
Your role during repairs includes maintaining communication between your contractor and adjuster, documenting any additional damage discovered during work, and securing supplemental approvals before proceeding with unforeseen repairs. Contractors experienced with insurance work navigate these supplemental claim processes efficiently, preventing payment disputes and project delays. The same documentation discipline that maximized your initial emergency roof damage claim payout protects you through final settlement, so you recover the full approved amount without coverage gaps or out-of-pocket expenses.