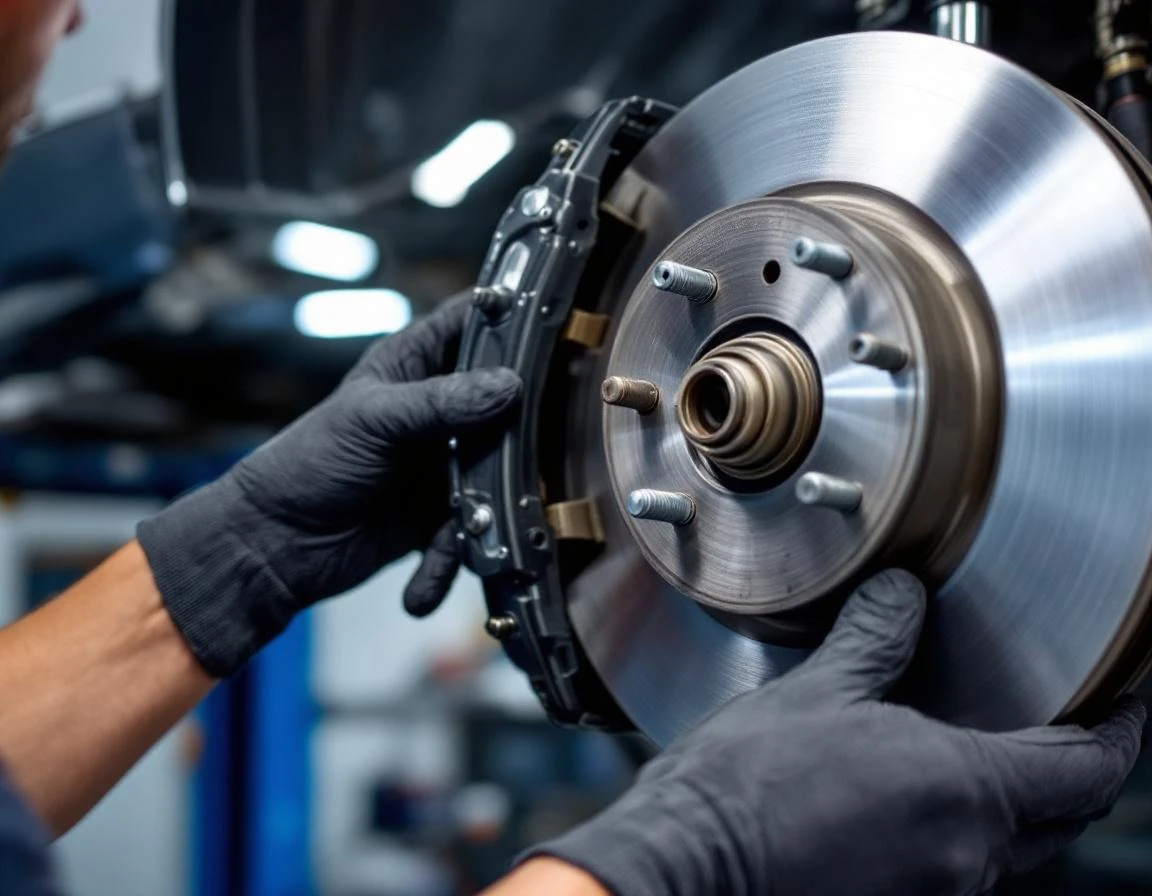
Why Spring Brake Checks Matter
Winter driving takes a serious toll on your brake system. Road salt creates corrosion on brake lines, calipers, and mounting hardware. Moisture works its way into brake fluid through microscopic seal gaps, lowering the fluid’s boiling point and reducing stopping power. Temperature cycling—from freezing overnight to warmer afternoons—stresses rubber components and accelerates pad wear as metal contracts and expands. Independent mechanics see the evidence every March: brake systems that functioned adequately in December now show fluid contamination, premature pad glazing, and corrosion that threatens safe operation. Understanding what do mechanics check during brake inspection helps you recognize why this seasonal window matters so much.
The timing matters because March sits at a critical intersection. You’ve just finished months of harsh winter conditions, and summer road trip season approaches within weeks. This is when brake failure risk peaks—right before families load up vehicles for long-distance travel. A brake inspection scheduled now catches problems while they’re still manageable: replacing worn pads costs far less than resurfacing warped rotors or rebuilding calipers damaged by delayed maintenance.
Understanding this seasonal window helps you recognize urgency without panic. Your brakes aren’t failing today, but winter has set the stage for accelerated decline. Early spring inspection identifies which components need attention before they become safety risks on a highway three states from home.
What Do Mechanics Check During Brake Inspection: The Seven-Point Diagnostic
When a professional mechanic performs a brake inspection, the process follows a methodical sequence that catches problems at every critical failure point. This seven-point diagnostic reveals not just what’s worn, but what’s about to fail and why certain components demand immediate attention while others can wait for scheduled maintenance.
Pad Thickness and Friction Material Condition
Mechanics start with brake pad wear inspection because pad thickness directly determines stopping distance and rotor protection. Using a thickness gauge or caliper, they measure remaining friction material at multiple points across the pad surface. The industry safety minimum sits at 2mm, though most shops recommend replacement at 3mm to prevent metal-to-metal contact that destroys rotors.
Beyond thickness, technicians examine the friction surface for uneven wear patterns that indicate caliper problems, glazing that reduces bite, or contamination from oil or brake fluid. A pad worn evenly across its surface signals healthy caliper operation, while tapered wear or inner-versus-outer pad differences point to stuck pistons or seized guide pins.
Rotor Scoring, Thickness, and Warping Patterns
Rotor inspection requires both visual assessment and precision measurement. Mechanics check for deep grooves that exceed safe refinishing limits, typically around 1.5mm depth. They measure rotor thickness with a micrometer at eight to twelve points around the disc, comparing readings against the minimum thickness specification stamped on the rotor hub.
Warping detection involves running a dial indicator across the rotor face while rotating the wheel. Runout exceeding 0.002 inches causes the pulsating brake pedal most drivers recognize as the first sign of rotor problems. Heat discoloration—blue or purple zones on the rotor face—indicates spots where excessive heat has altered the metal’s hardness and braking characteristics.
Brake Fluid Color, Moisture Content, and Boiling Point Degradation
Fresh brake fluid appears light amber and almost clear. During inspection, mechanics extract a small sample from the master cylinder reservoir and examine its color against a reference chart. Fluid that’s darkened to brown or black has absorbed moisture from the atmosphere through microscopic hose permeation.
This moisture absorption matters because water lowers the fluid’s boiling point from around 400°F down to 280°F or less. When fluid boils during hard braking, vapor bubbles compress instead of transmitting hydraulic pressure, causing the spongy pedal feel that precedes complete brake failure. Some shops use electronic testers that measure moisture content directly, with readings above three percent warranting immediate fluid replacement.
Caliper Operation and Piston Seal Integrity
Mechanics push pistons back into their bores during pad replacement, but thorough inspection requires watching how smoothly pistons retract and whether they drag or stick. They check for fluid seepage around piston boots and examine the rubber boots themselves for cracks or deterioration that allows moisture and contaminants to corrode the piston surface.
Seized calipers cause constant pad-to-rotor contact that generates heat, accelerates wear, and creates the pulling sensation drivers feel during braking. Technicians also verify that sliding calipers move freely on their guide pins and that the rubber bushings that allow this movement haven’t dried out or seized from salt exposure.
Hose Integrity, Leaks, and Age-Related Cracking
Rubber brake hoses flex with suspension movement, but age causes the rubber to crack and deteriorate from the inside out. Mechanics inspect hoses for surface cracks, bulges that indicate internal liner separation, and seepage at connection points. They also check for abrasion where hoses contact suspension components during wheel travel.
Brake Line Corrosion and Pressure Delivery
Steel brake lines resist damage better than hoses, but salt accelerates rust formation that eventually perforates the line wall. Technicians trace lines along the frame rails and suspension pickup points, looking for rust scale, bubbling paint, or wet spots that signal pinhole leaks. They pay particular attention to lines routed near the exhaust system, where heat cycling accelerates corrosion.
ABS Module Function and Sensor Response
The final diagnostic point involves connecting a scan tool that queries the ABS module for stored fault codes and active sensor readings. Mechanics verify that all four wheel speed sensors report consistent values and that the module performs its self-test without flagging valve problems or pump failures. Erratic sensor readings often trace back to corroded tone rings or damaged sensor wiring rather than electronic failures.
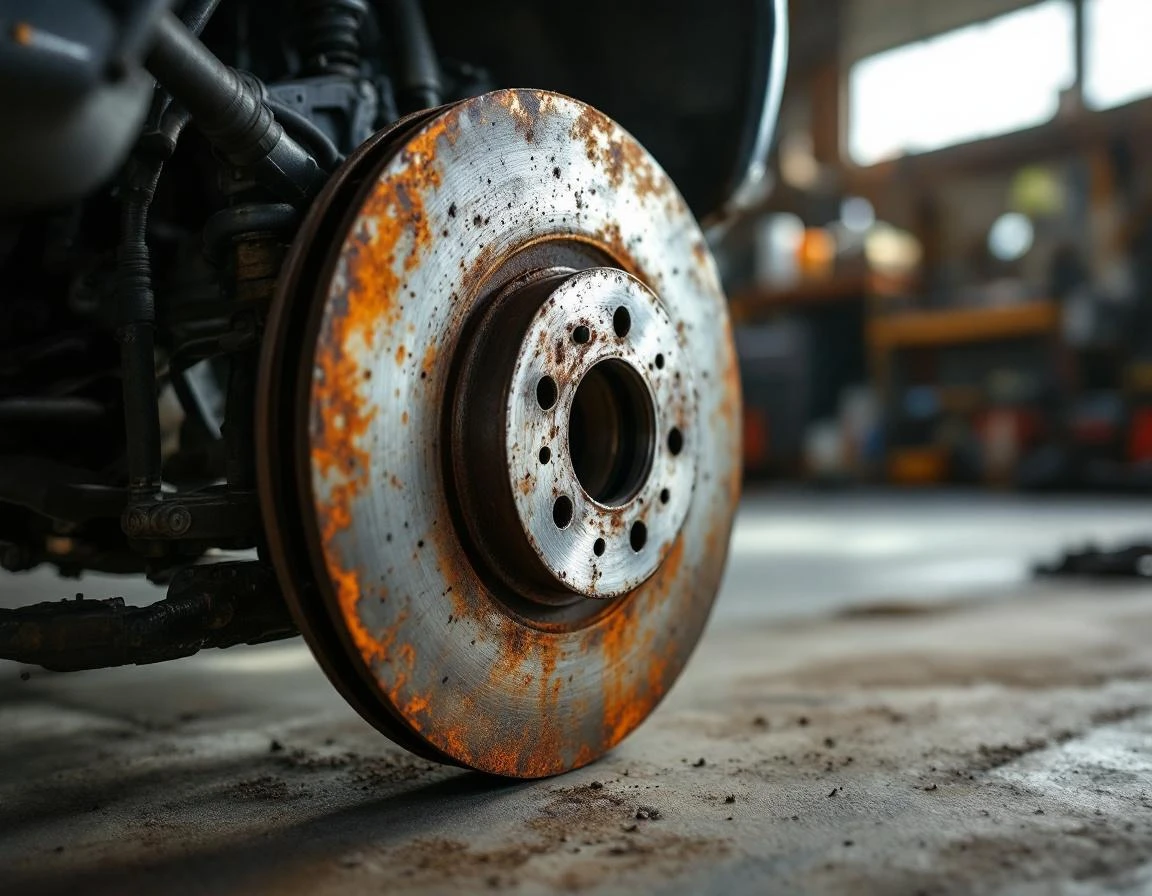
Pad and Rotor Evaluation
Mechanics measure brake pad thickness using dial calipers or direct visual inspection through the wheel spokes, comparing remaining material against the 2mm minimum replacement threshold. Pads at 4mm have roughly half their service life remaining, while 6mm indicates adequate material for most driving conditions. Fresh pads typically start at 10-12mm depending on the vehicle.
Rotor evaluation focuses on four surface conditions that determine replacement timing:
- Scoring depth gets measured with depth gauges—grooves deeper than 1.5mm compromise pad contact and braking efficiency
- Glazing appears as a smooth, shiny surface that reduces friction, often caused by excessive heat or worn pads grinding against metal
- Heat discoloration shows as blue or purple tinting, indicating the rotor exceeded normal operating temperatures and may have compromised structural integrity
- Checking for warping by mounting a dial indicator against the spinning rotor surface, measuring lateral runout that causes brake pedal pulsation
Uneven wear patterns reveal underlying mechanical problems. Pads worn at steep angles point to seized caliper slide pins that prevent even pressure distribution. Rotors with wear concentrated on inner or outer edges indicate caliper bracket misalignment or suspension geometry issues affecting wheel positioning.
Fluid and System Pressure
Brake fluid tells mechanics more about system health than any other single indicator. Fresh DOT 3 or DOT 4 fluid appears golden, almost translucent. As it absorbs moisture from condensation and seal degradation, the color shifts to amber—a warning sign that moisture content is climbing. Eventually, heavily contaminated fluid turns dark brown or black, signaling complete degradation.
This color progression matters because moisture directly attacks braking performance. DOT 3 fluid boils at 401°F when fresh, but moisture contamination lowers the boiling point to 284°F. During heavy braking—mountain descents or emergency stops—this degraded fluid vaporizes, creating compressible gas bubbles that cause brake fade. Your pedal sinks to the floor while stopping power vanishes.
Mechanics confirm system integrity by attaching a pressure gauge to the master cylinder and watching for pressure drops. A healthy system holds steady pressure indefinitely. Any decline indicates leaks at wheel cylinders, calipers, or brake lines—problems that fluid color alone won’t reveal but that pressure testing catches immediately.
Symptoms That Demand Immediate Inspection
Certain brake symptoms indicate imminent failure rather than routine wear, requiring same-day professional diagnosis:
- Grinding or metal-on-metal scraping means pads have worn past the 2mm minimum and exposed backing plates directly against rotors, destroying rotor surfaces while eliminating friction material needed for safe stops. This sound represents active safety degradation happening with each mile driven.
- A spongy or soft brake pedal that sinks toward the floor under pressure indicates air contamination in hydraulic lines or internal fluid leaks past caliper seals. Normal brake pedals feel firm within the first third of travel. Sponginess means the system can’t build sufficient hydraulic pressure to engage calipers properly, extending stopping distances unpredictably.
- Dashboard brake warning lights or flashing ABS indicators signal electronic detection of system faults—low fluid levels, pressure imbalances, or sensor failures. Modern vehicles monitor brake performance continuously through wheel speed sensors and pressure transducers. Illuminated warnings require diagnostic scanning to identify specific fault codes before the underlying problem cascades into complete brake failure.
- Directional pulling during braking, pulsating pedal vibration, or delayed engagement all indicate uneven brake application across wheels. These symptoms often stem from seized caliper pistons, contaminated pads, or severe rotor warping—conditions that compromise vehicle control during emergency stops and warrant immediate professional evaluation rather than scheduling routine maintenance weeks ahead.
Inspection Frequency and Next Steps
Most vehicles aged three to seven years perform well on annual brake inspections. With twelve-month intervals balancing safety monitoring against unnecessary service costs. This schedule assumes typical driving patterns—commuting, errands, occasional highway travel. Drivers who navigate mountainous terrain, tow trailers regularly, or brake aggressively in stop-and-go traffic should consider semi-annual checks, as these conditions accelerate pad wear and fluid contamination.
When scheduling your inspection, request a detailed brake system diagnostic rather than a basic visual check. This seven-point evaluation delivers written findings that include pad thickness measurements, rotor condition assessments, fluid contamination levels, and caliper operation status. Quality shops provide recommendations prioritized by urgency. Items requiring immediate attention, components nearing replacement thresholds, and parts within normal wear ranges. This documentation helps you plan repairs around your budget and schedule rather than reacting to emergency failures.
Scheduling your spring brake inspection gives you a clear understanding of your vehicle’s exact condition and helps you plan any necessary repairs at your convenience. A detailed diagnostic report provides the information you need to plan brake work with confidence about timing and budget before summer driving season begins.